The options page mainly involves robot connection, software upgrade, import and export, and feature demonstration. Note: Using a USB drive with excessively large capacity may result in slow copying speeds, which can affect backup and export performance.
14.1 Connect
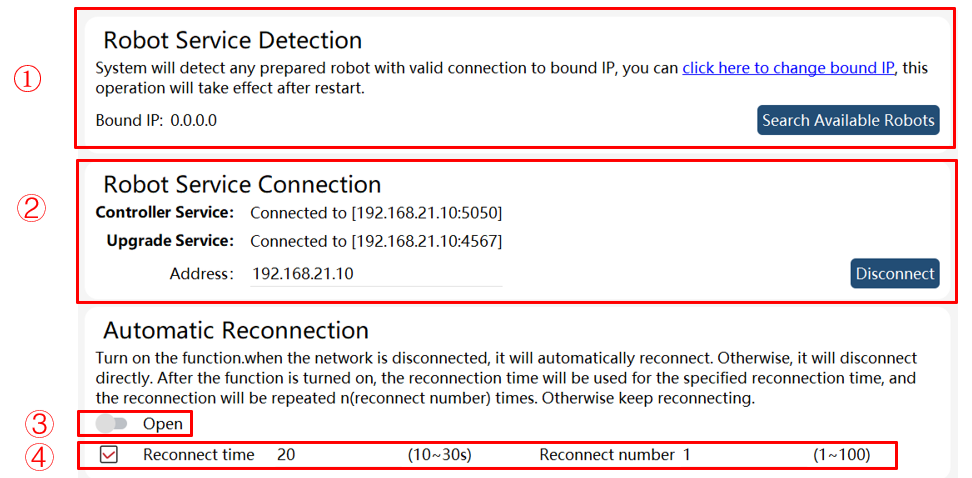
① |
Search for available robots: Search for all robots in the same LAN (except direct connection). When the robot is connected, it will be displayed that the controller service and the update service are both connected. |
② |
Display the connection status, and the user can select to disconnect it. |
③ |
Enable the function of automatic reconnection: |
④ |
There are two ways for reconnection: |
14.3 Software upgrade
14.3.1 Controller upgrade
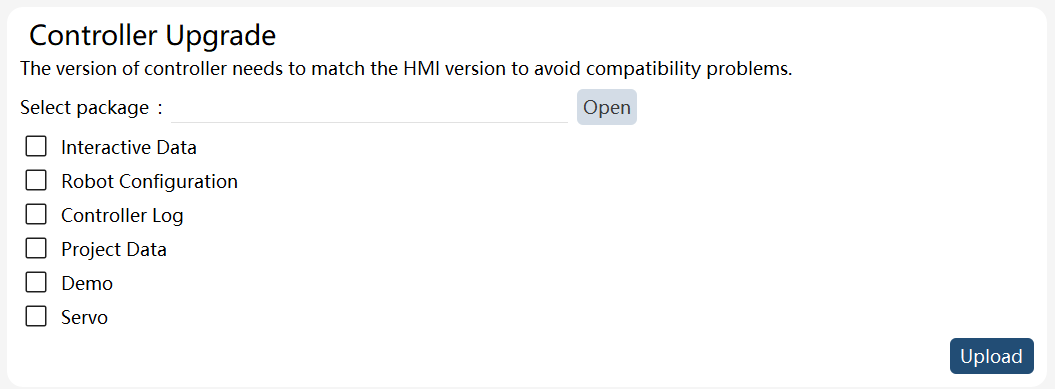
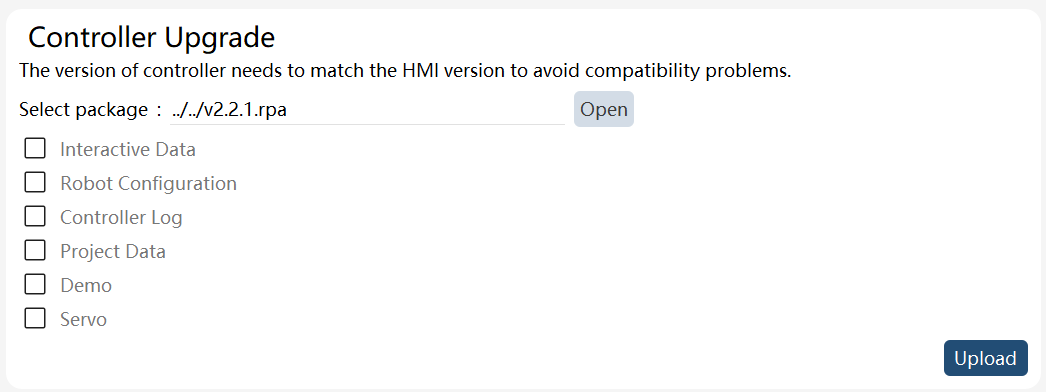
Through the controller upgrade function, it is possible to: (1) upgrade the controller software version and (2) restore data.
Upgrade controller version: Select the upgrade package, click "Upload", and the interface will prompt "Uploaded successfully". Follow the pop-up prompt to restart the controller.
Restore data: Select the data package to be restored, check the data to be restored, and click "Upload". Follow the pop-up prompt to restart the controller.
14.3.2 Controller backup
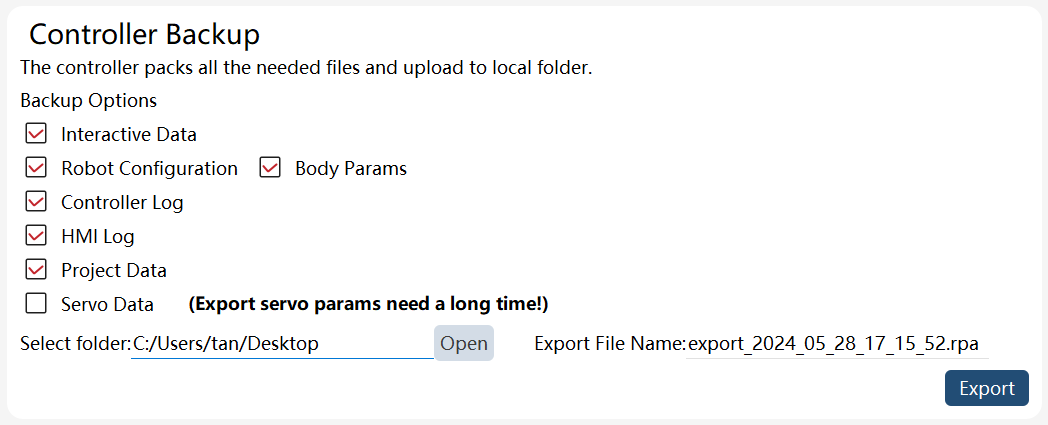
This function can achieve data backup of the controller. Check the data for backup, click "Open" to select the backup directory, and then click "Export". The exported file is an encrypted file in RPA format.
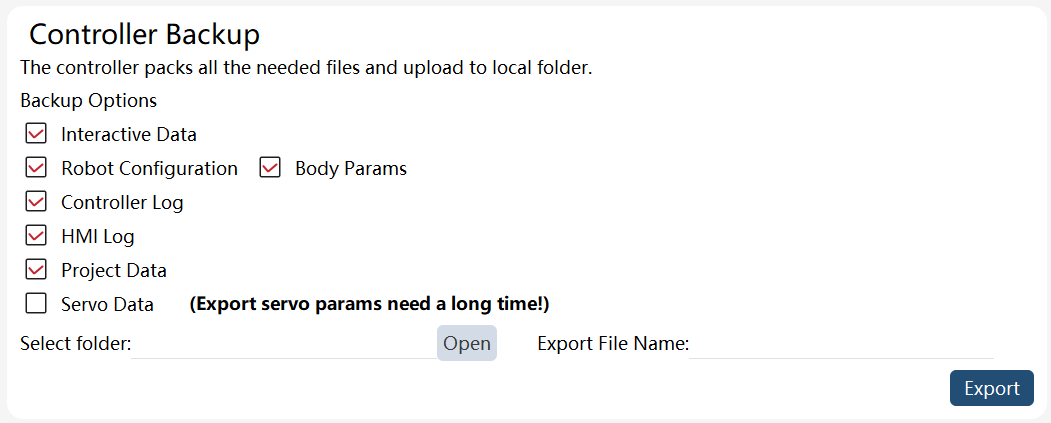
Robot configuration: controller settings - system configuration; calibration - zero point voltage value of torque sensor; body parameters - overload coefficient; motion parameters - parameters and safety control; etc.
Native parameters: calibration — encoder values, angle calibration settings, and base frame; dynamic settings — (third order) friction coefficient; body parameters — DH parameters, reduction ratio, etc.
Interactive data: dynamic settings - feedforward and constraint switch; motion parameters - stopping distance, Search, and minimum radius of turning zone, Conf, force control parameters, xPanel configuration, quick adjustment, teach pendant mode, communication, and safety.
Controller logs: version information files, user configuration files, controller logs, and project logs. Only the logs generated in the last three days can be exported, and more logs can be exported in the log module on the export page.
HMI logs: syslog, mirror version description file, and version information file of the teach pendant.
System logs: IPC syslogs, interfaces files, and rc.local files.
14.3.3 HMI upgrade
Only for xPad2, and it aims to upgrade the teach pendant HMI software. Click "Open", select the HMI software upgrade package in the USB drive directory, and click "Upgrade" to start the HMI upgrade process. After the HMI upgrade is completed, the HMI software will start automatically and the HMI upgrade is finished.

14.3.4 Restart robot
It aims to restart the IPC system, and the upgrade service connection needs to be established for this operation.

14.3.5 Erase configuration
It aims to erase custom configurations, robot configurations, body parameters, project data, etc. For instructions on the above data, please refer to the "Controller Backup" section. Performing this function will still retain the relevant operation logs of the control system. Please use it with caution.
Check the content to be erased, click "Erase Configuration", and manually restart the robot to take effect.
Note: The upgrade service connection needs to be established for this operation.

14.3.6 Erase all configurations
It aims to restore the control system to its factory default state. This function will reset configuration files, project data, and interactive data within the control system but still retain relevant logs. Please use it with caution.
Note: The upgrade service connection needs to be established for this operation.

14.3.7 Example of control system upgrade
When the user wants to upgrade the control system, contact ROKAE to obtain the new version of the control system installation package. Refer to the operation steps below:
Step |
Picture |
Explanation |
1. Prepare the installation package. |
||
2. Open the HMI and connect to the controller and the upgrade service. |
|
|
3. Before upgrading, it is recommended to back up the control system to avoid the loss of important data. You can check the backup content in the "Backup" option and select "Export Folder" to export the backup. |
|
This step is not mandatory. |
4. Select the installation package, and the upgrade option will be configured according to the installation package. Click "Upload". |
|
Do not select "Interactive Data", "Robot Configuration", "Controller Logs", "Project Data", "Demo Case", or "Servo" in the "Controller Upgrade" option. |
5. After successful upload, the HMI will prompt to restart the robot and upon the restart, the control system upgrade is completed. |
|


|
|


14.4 Export
The export function can be used to back up controller related settings.
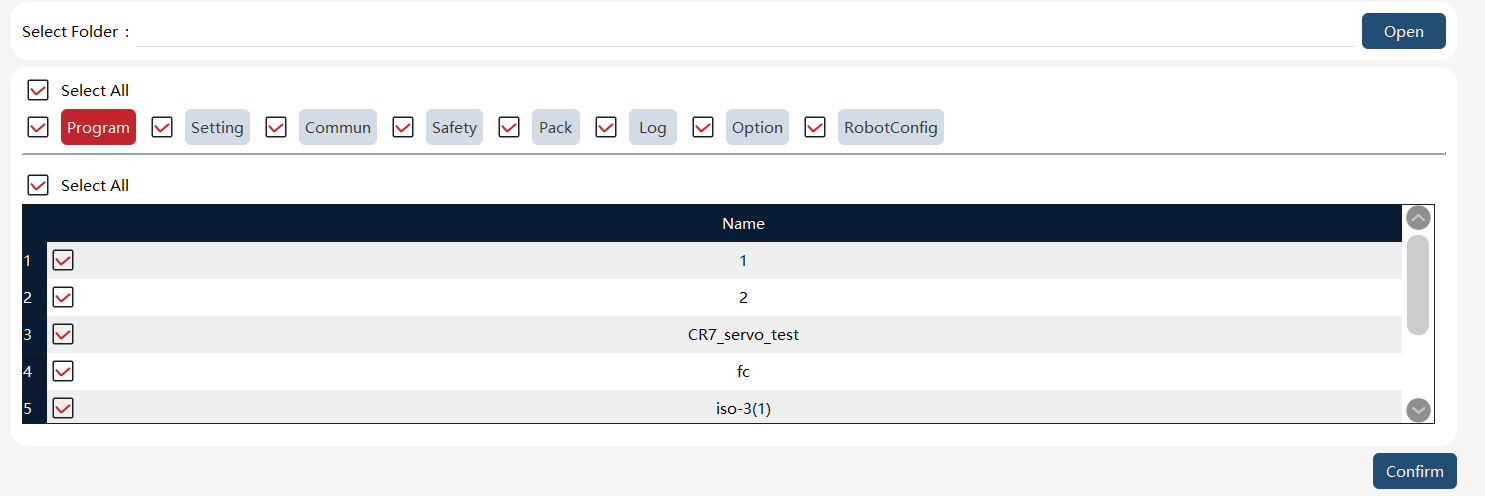
As shown in the figure, select the target folder, select the content to be exported, and click "OK". In addition, you can also choose to click the "One-click Relocation" button, which will automatically select the options required for the relocation operation, except for the log option.
The available export contents are as follows:
Function Module |
Export Content |
Programming |
Specific individual project |
Setting |
Controller settings - other settings |
HMI settings - basic settings, theme, and workspace directory |
|
User group |
|
Dynamic settings - dynamic feedforward and dynamic constraint |
|
Body parameters - RD parameters, reduction ratio, and overload coefficient |
|
Force control parameters - force control parameters, force control model, drag optimization |
|
Motion parameters - motion parameters, AccSet, safety control, Search commad, minimum turning zone, default Conf |
|
Error code filtering |
|
Custom buttons |
|
Additional axis |
|
Communication |
System IO |
External communication |
|
IO device |
|
Bus devices |
|
End-effector |
|
RCI settings |
|
Serial port settings |
|
Encoder |
|
Safety |
Soft limit |
Virtual wall |
|
Collision detection |
|
Safe region |
|
Safety position |
|
Safety monitor |
|
Collaboration mode |
|
Process Package |
Conveyor belt |
Log |
Controller logs |
HMI logs |
|
Project logs |
|
Options |
Connect and auto reconnect |
Robot configuration |
Model file |
14.5 Import
The import function can import controller settings.
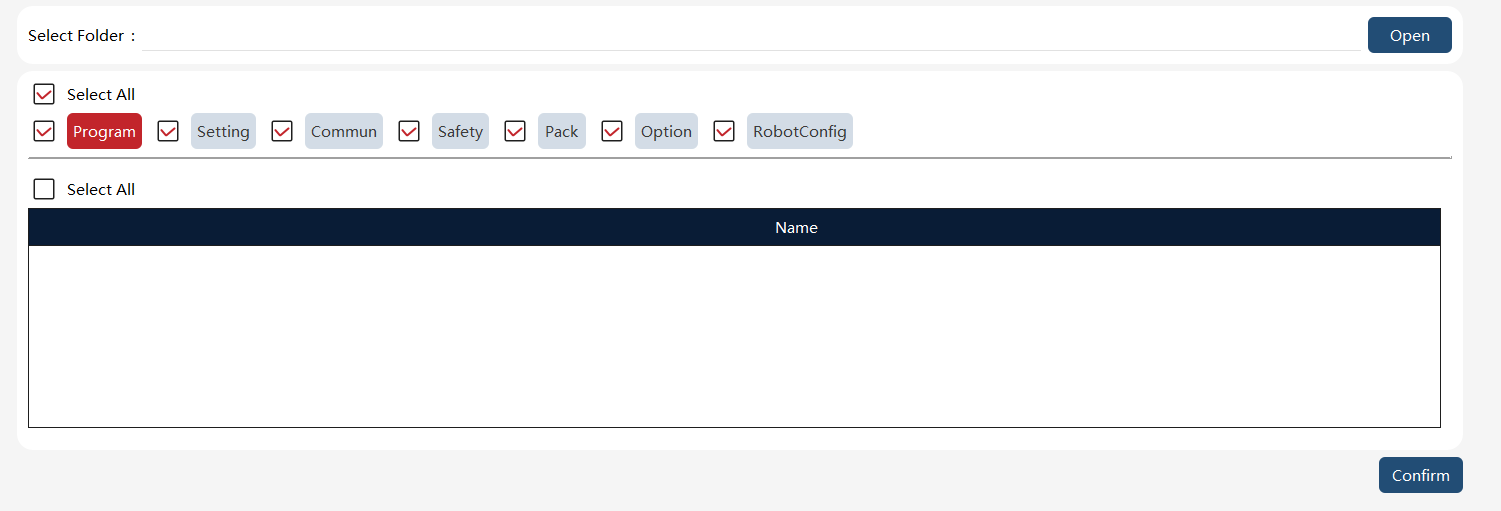
Select the zip package you want to import, and after opening the package, the configuration items contained in the zip package will be automatically checked while the configuration items that are not contained will be grayed out.
The user can choose specific import content as the case may be. Note: After importing, the control system needs to be restarted to take effect.
14.6 File manager
It is intended to quickly open several folders involved in the Robot Assist software.
Note: This function is available only for PC HMI software.
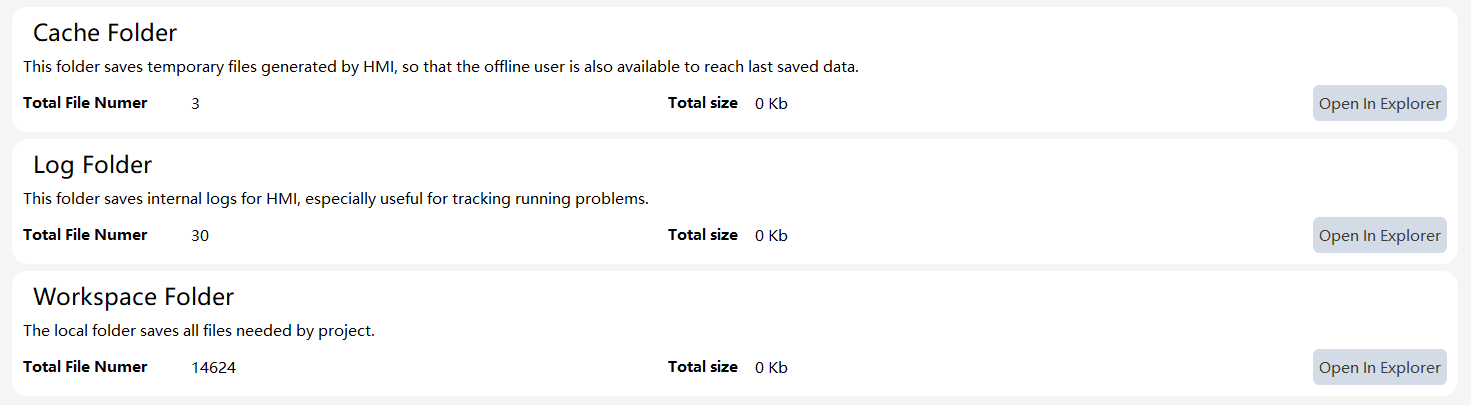
Cache folder: Store the cache of Robot Assist.
Log folder: Store Robot Assist logs. The logs in the folder are consistent with the internal logs on the diagnostic interface. You can click here to enter the folder for log copying.
Workplace folder: Store robot project files.
14.7 Demos
14.7.1 Seven-axis redundant motion
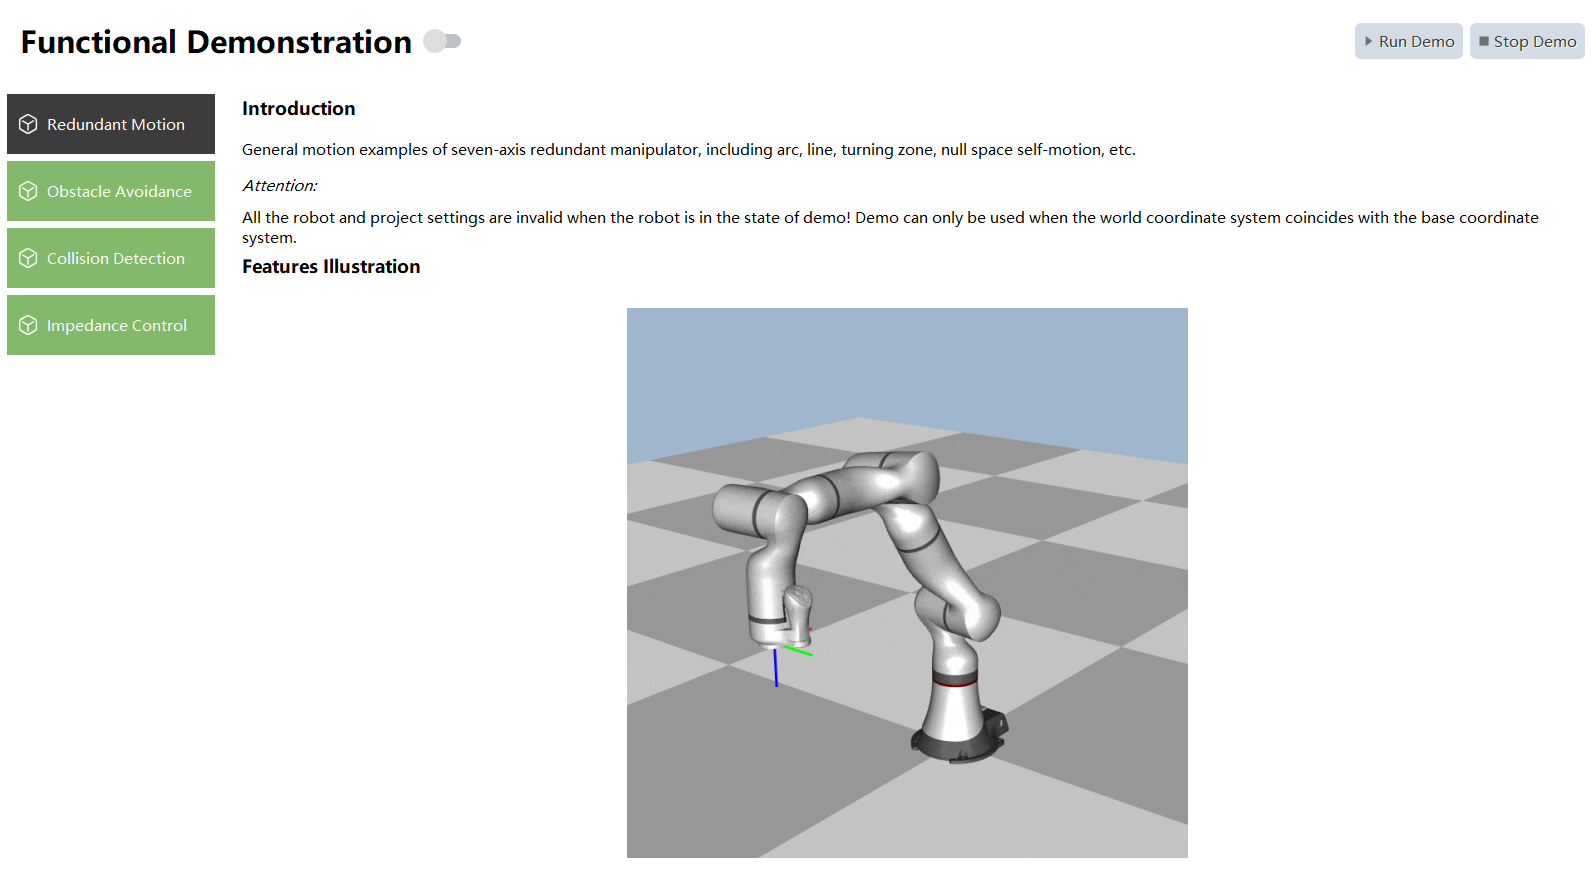
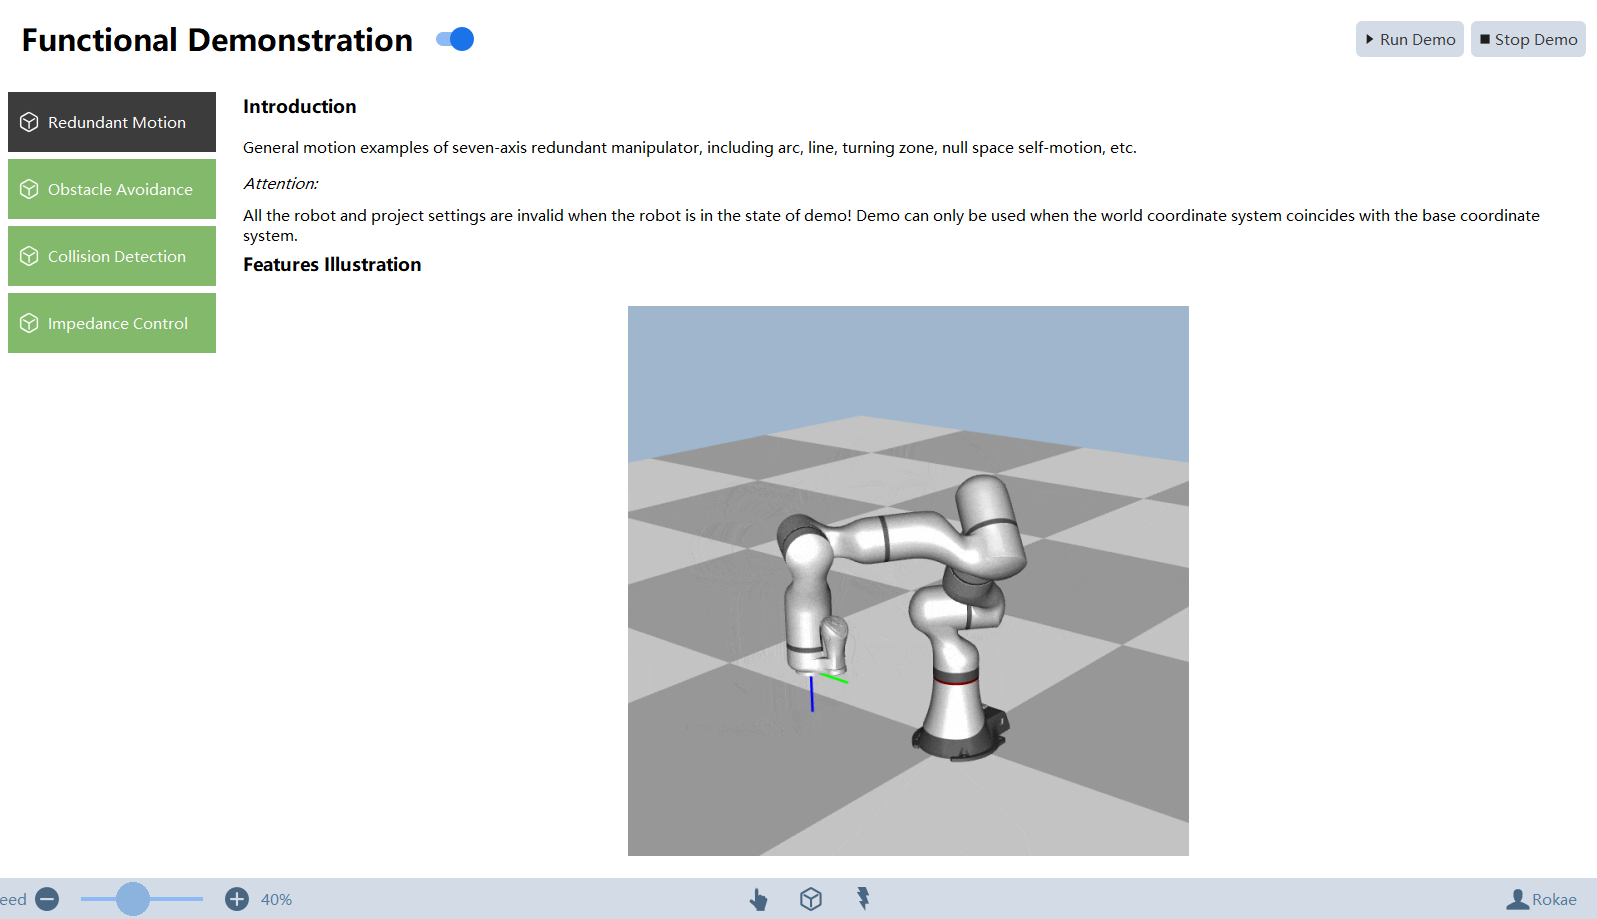
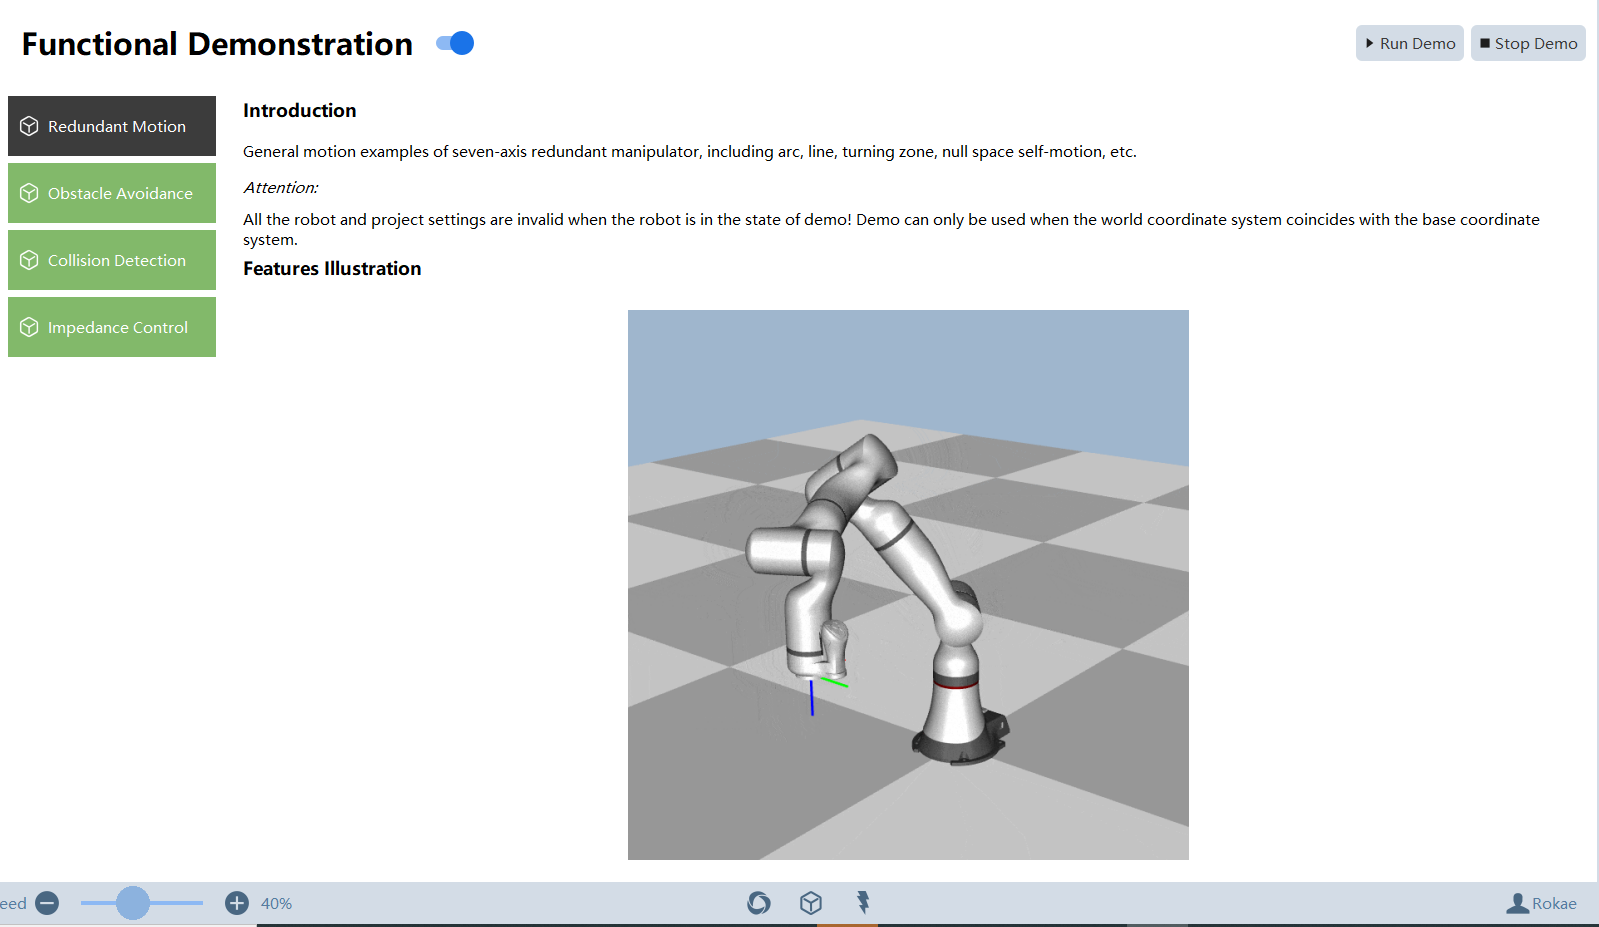
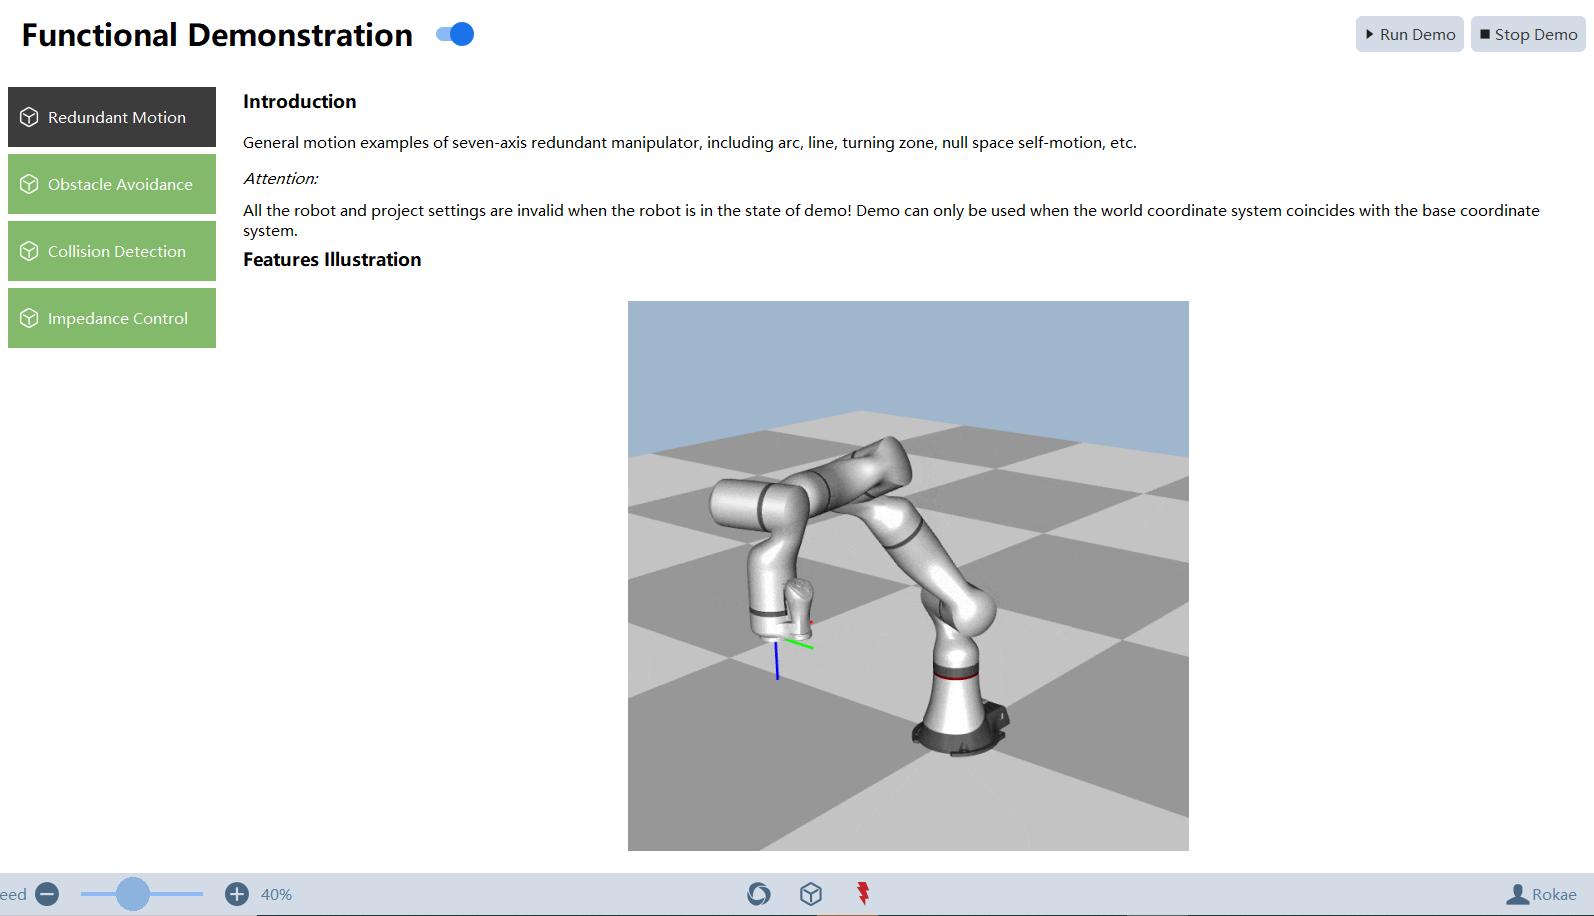
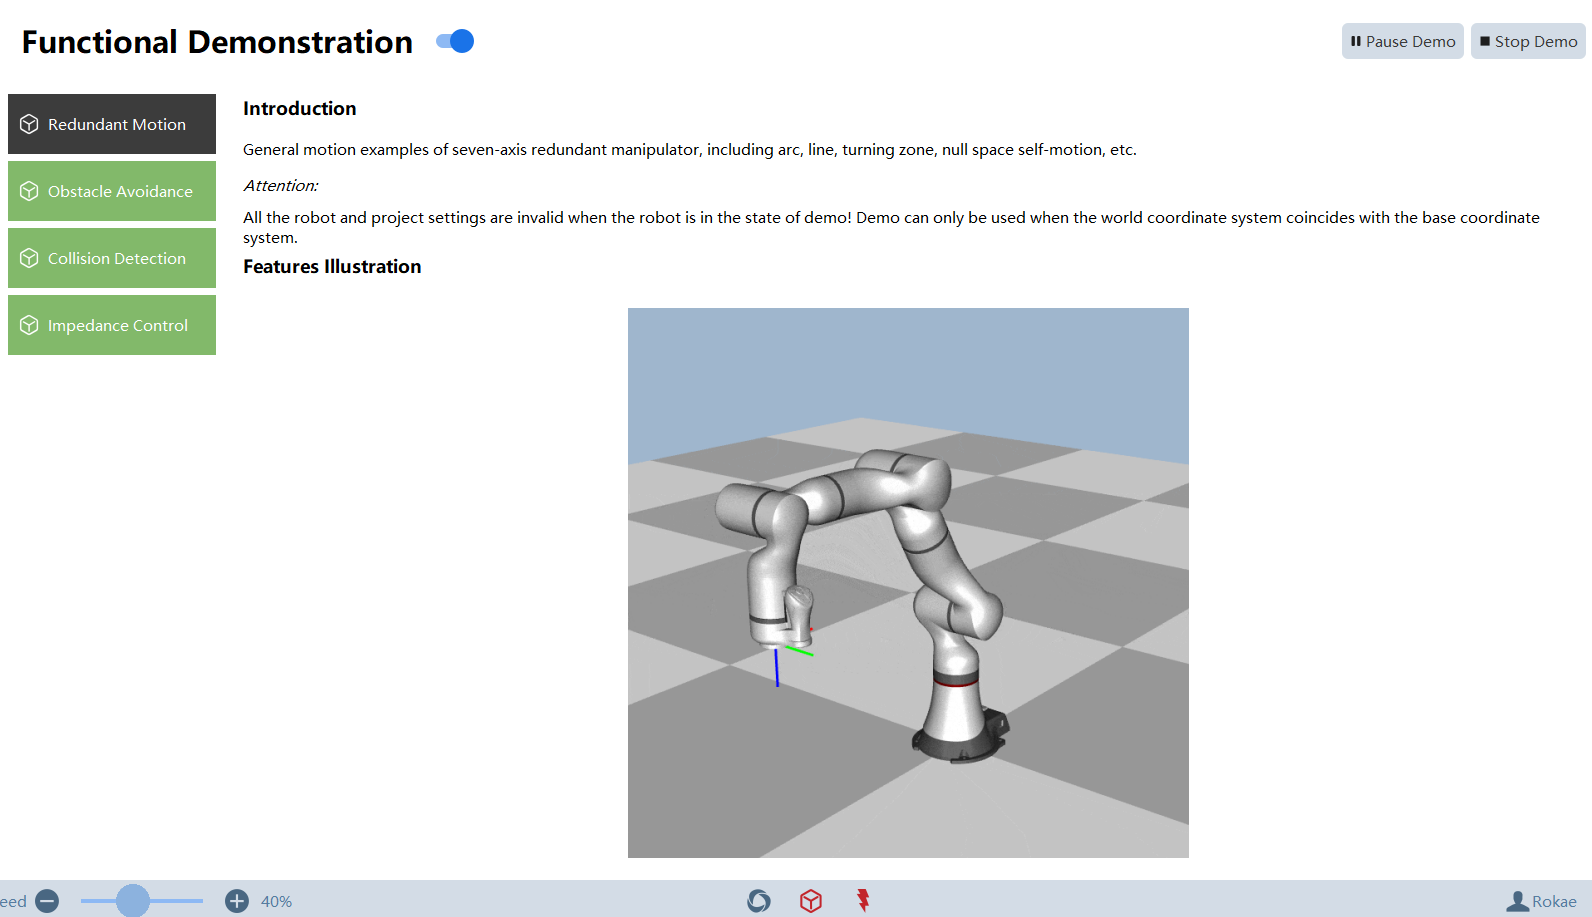
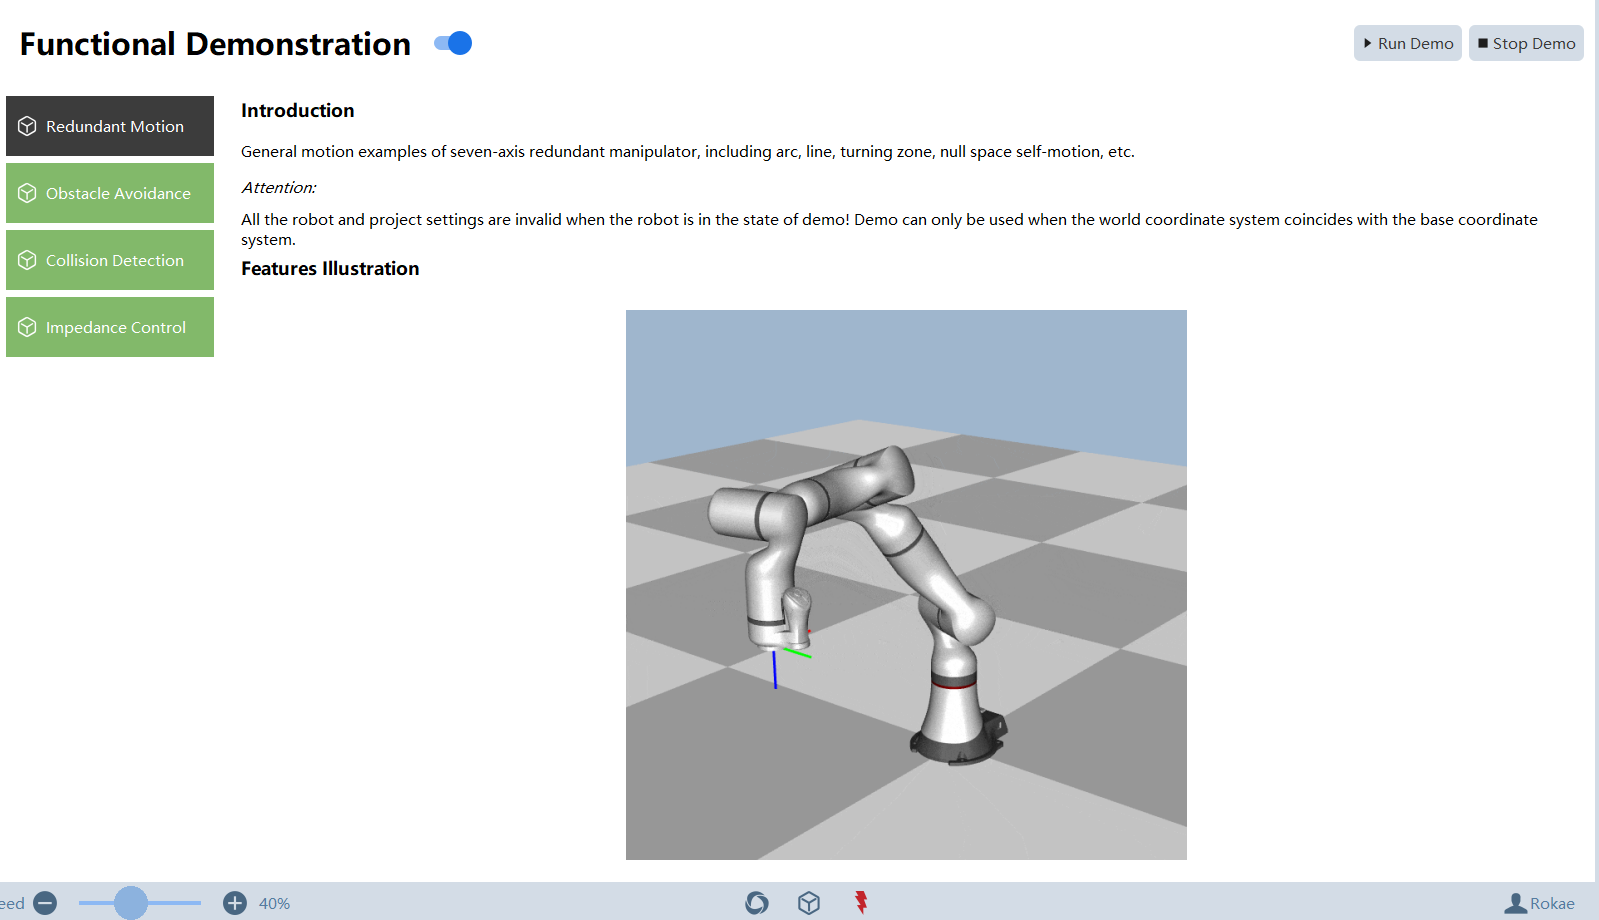
It is used for the demonstration of seven-axis redundant motion, including circular motion, linear motion, turning, and null-space motion, and it supports xMate ER PRO.
| Step | Graphical Representation | Explanation |
|---|---|---|
1. Select Option - Demo - Seven-axis redundant motion and enable Demo to enter the demonstration mode. |
|
|
2. Click the mode switching button |
|
|
3. Click the Power-on button |
|
|
4. Click "Play Demo" in the upper right corner. |
|
|
5. After playing the demo, click "Stop Demo" in the upper right corner. |
|


14.7.2 Obstacle avoidance
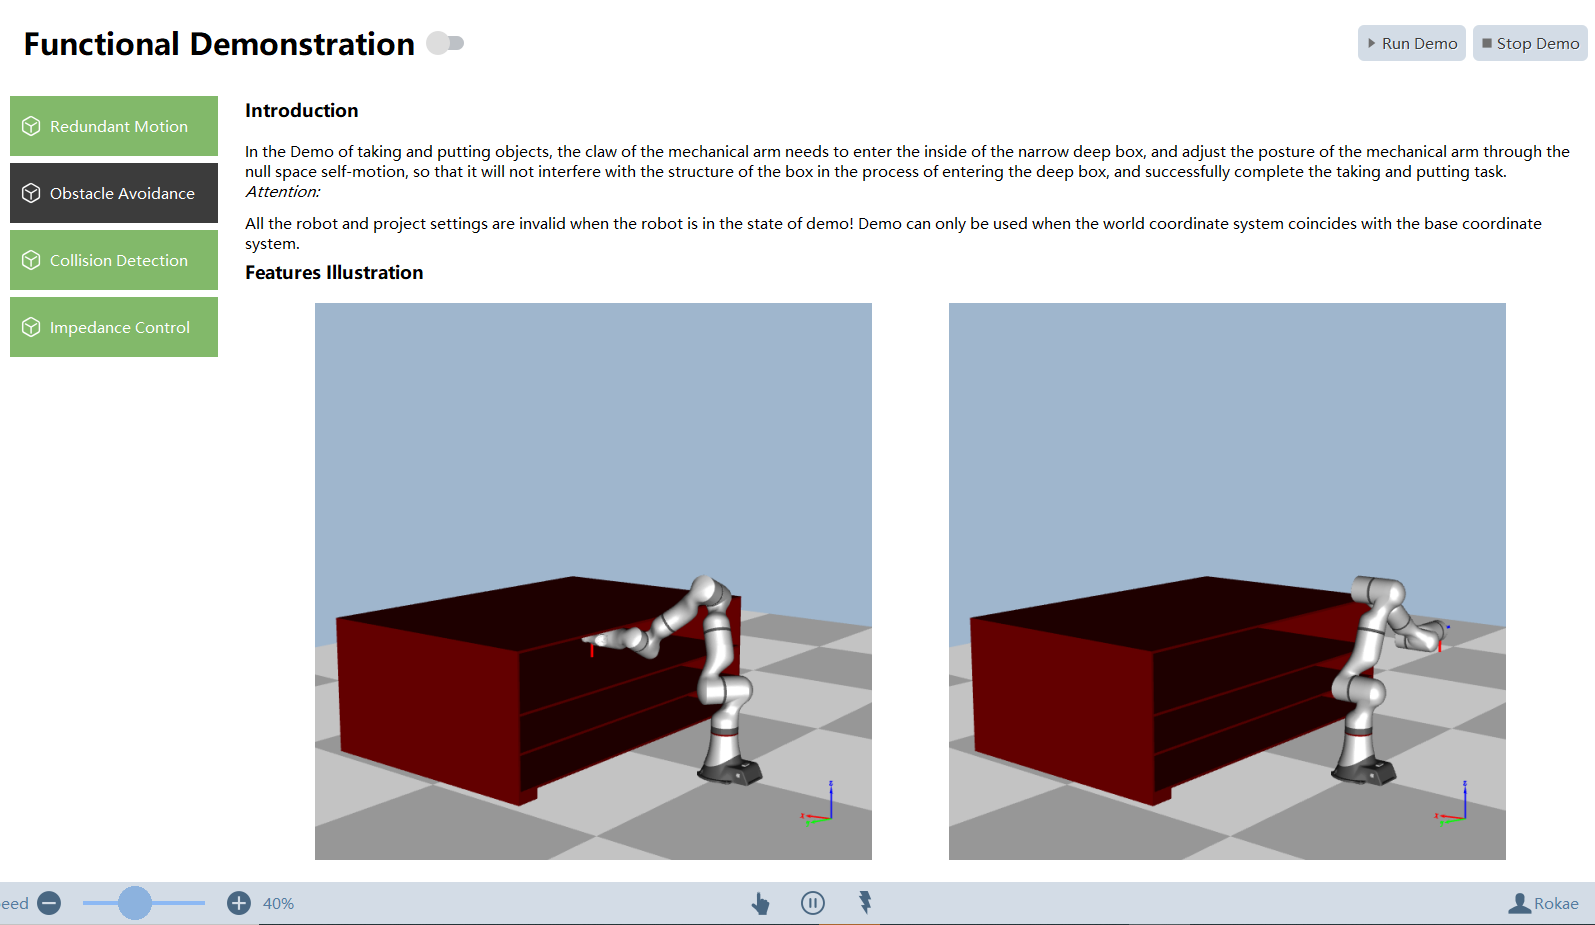
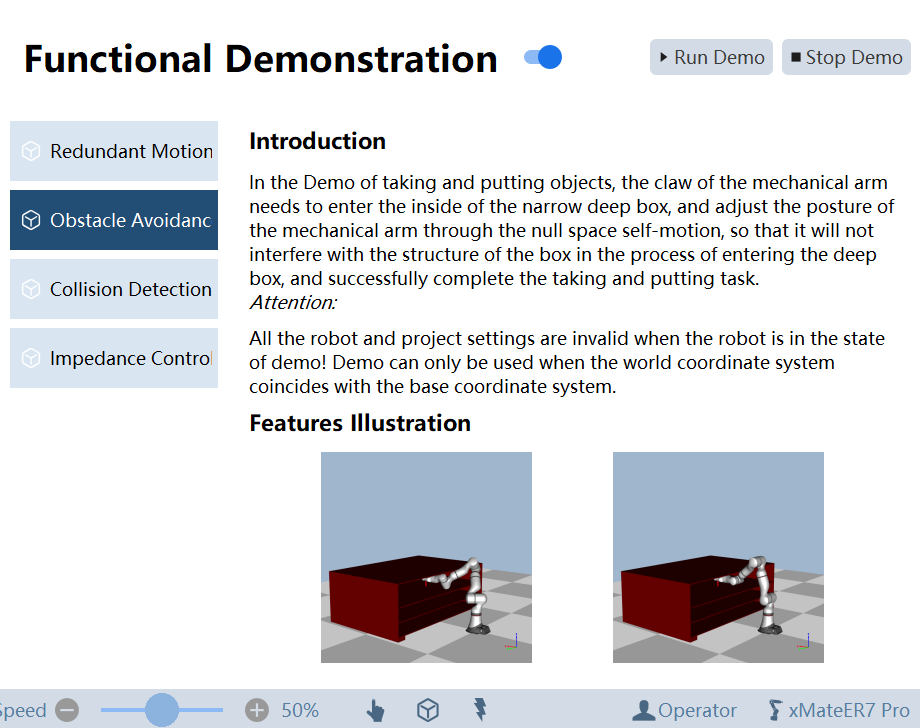
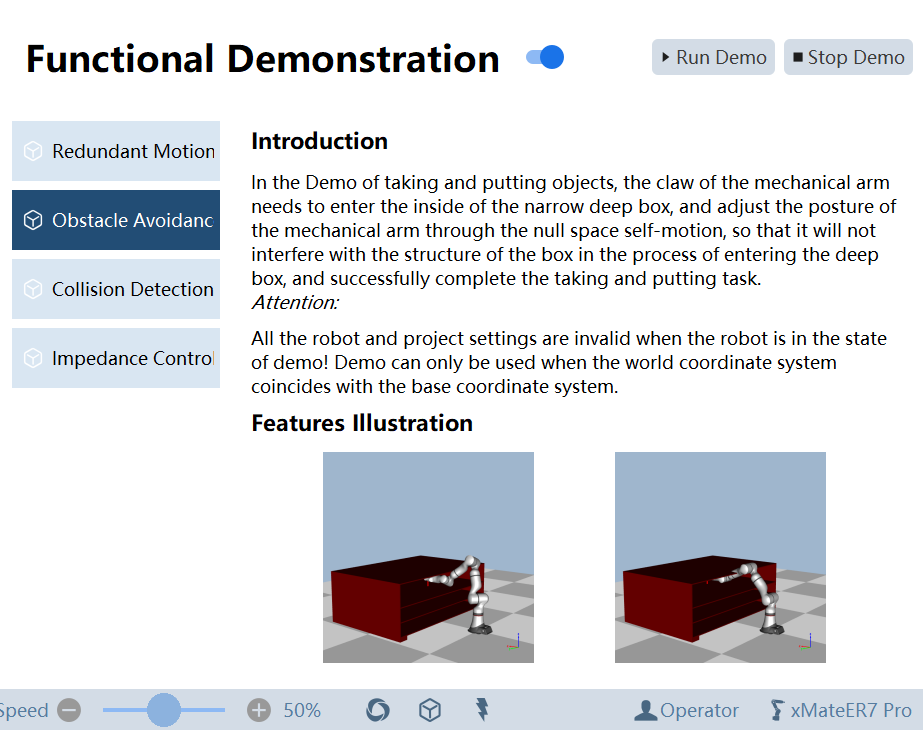
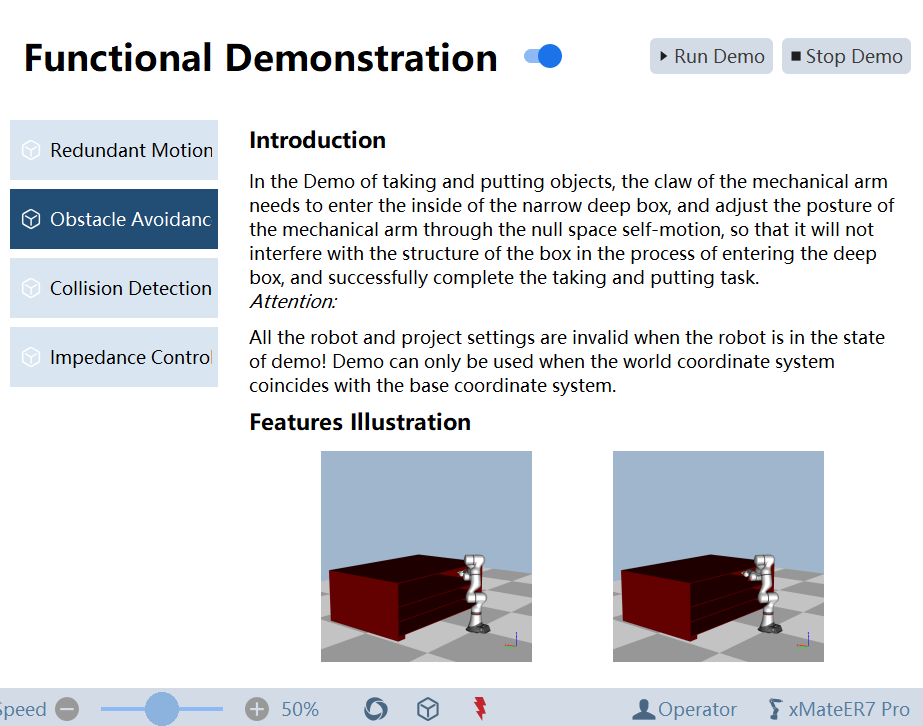
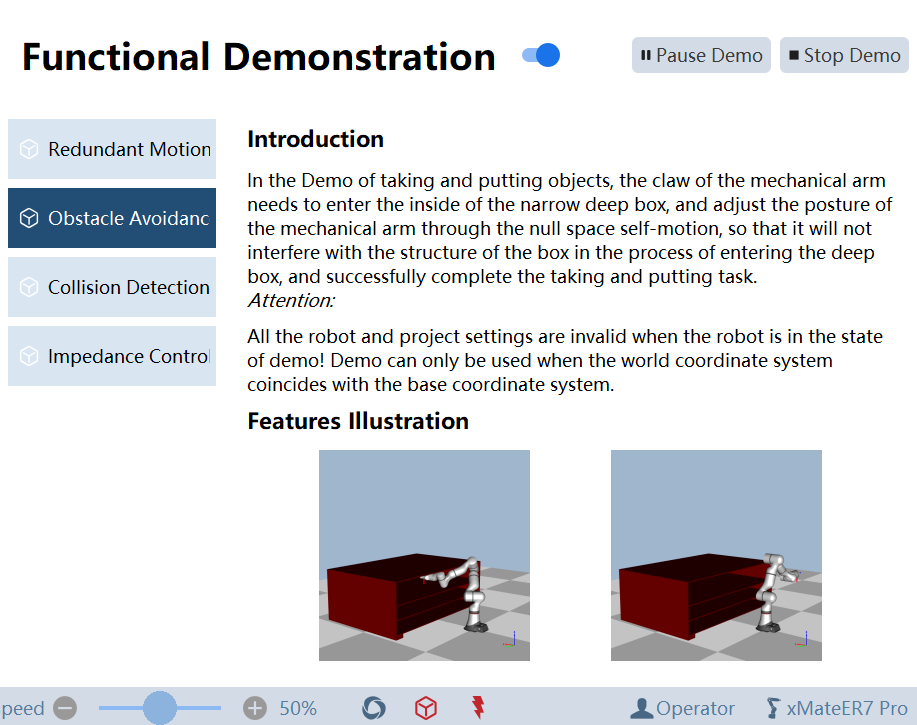
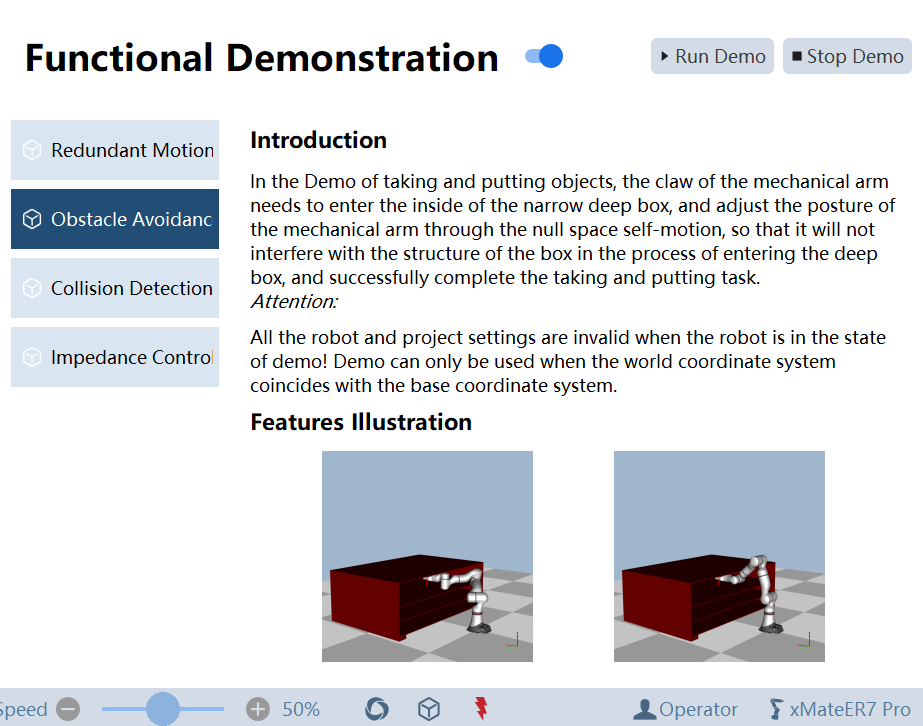
When the demonstration manipulator enters a narrow and deep box, it will not interfere with the box structure by adjusting its orientation through null-space self-motion, which enables the robot to perform the pickup and delivery task successfully.
| Step | Graphical Representation | Explanation |
|---|---|---|
1. Select Option - Demo - Obstacle avoidance and enable Demo to enter the demonstration mode. |
|
|
2. Click the mode switching button |
|
|
3. Click the Power-on button |
|
|
4. Click "Play Demo" in the upper right corner. |
|
|
5. After playing the demo, click "Stop Demo" in the upper right corner. |
|
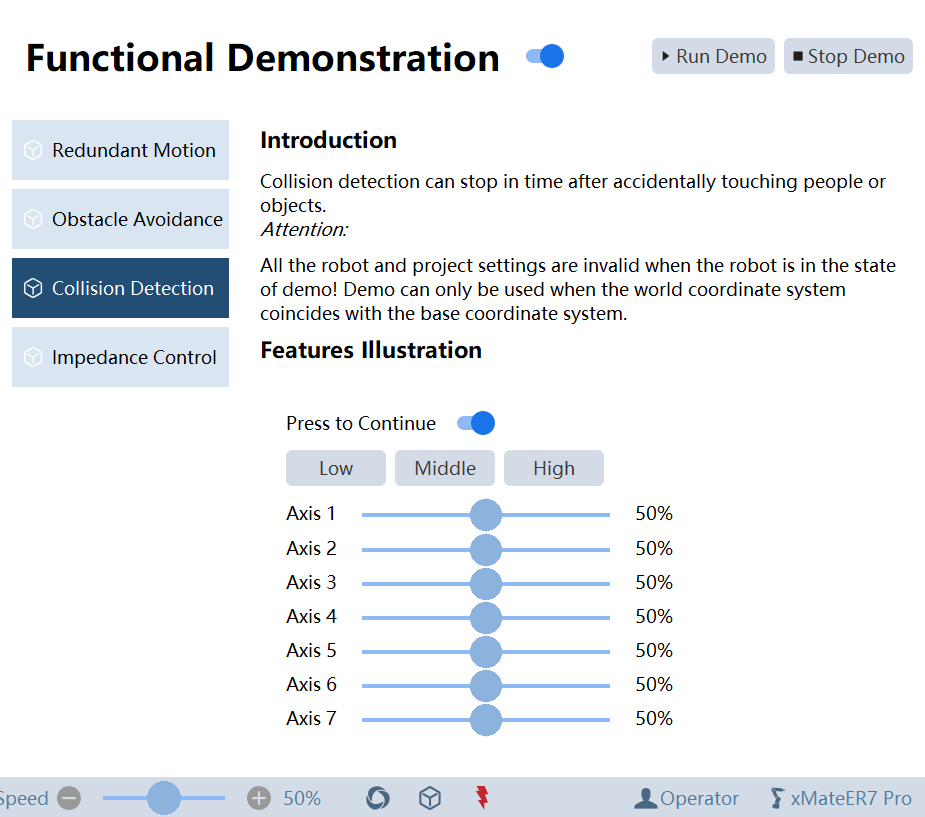
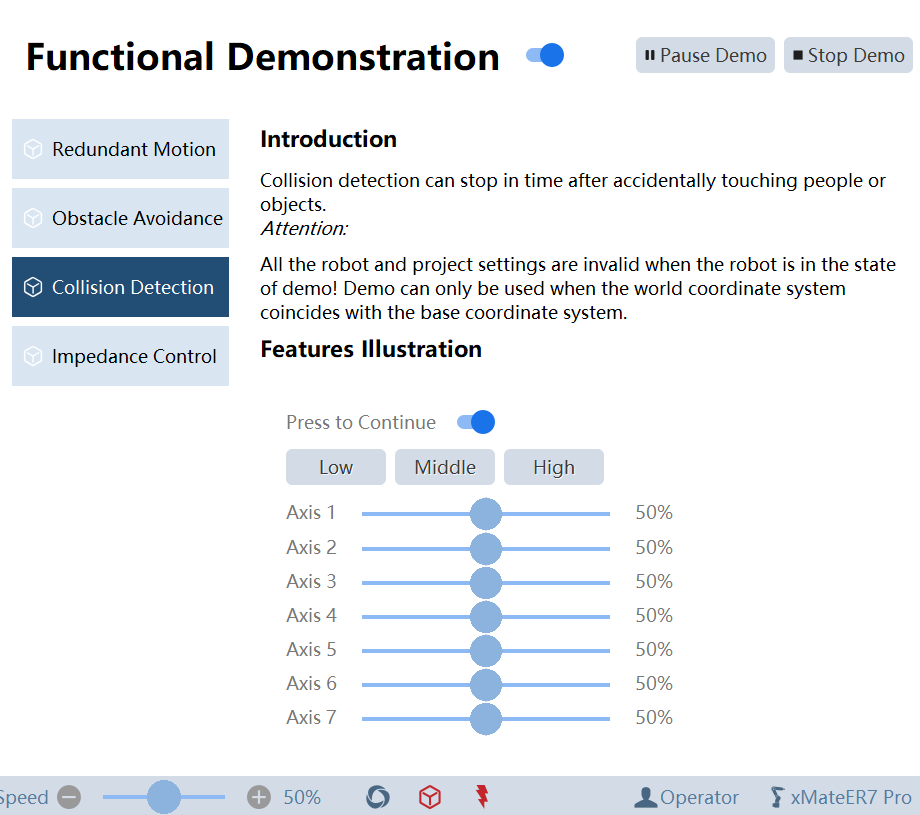
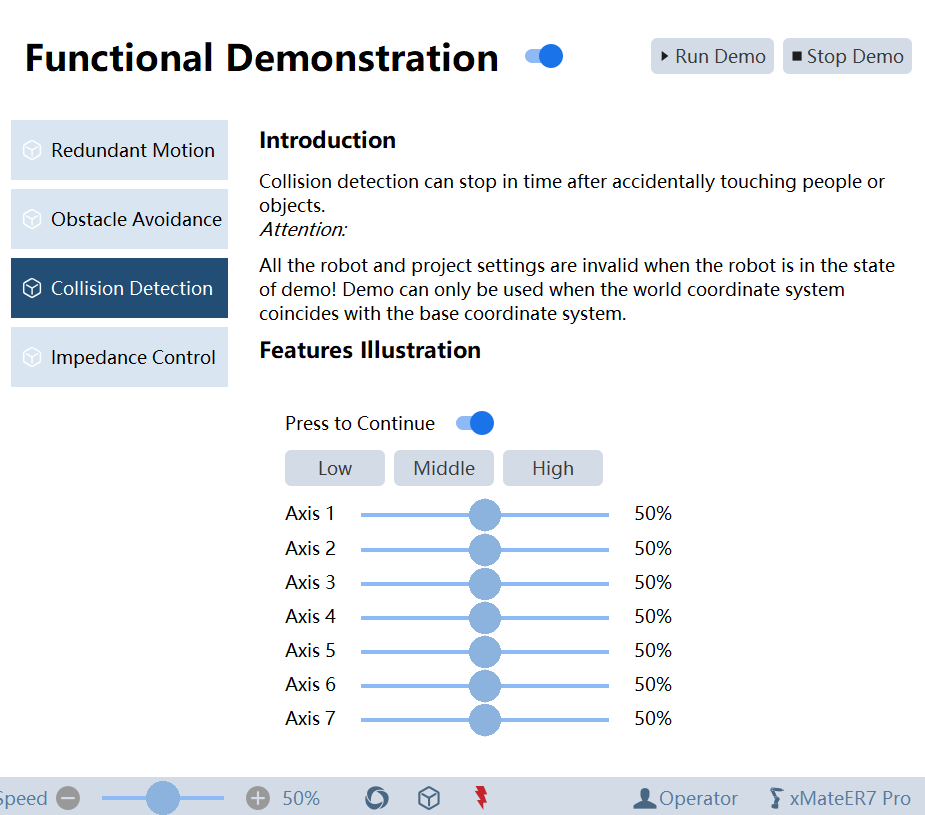
14.7.3 Collision detection
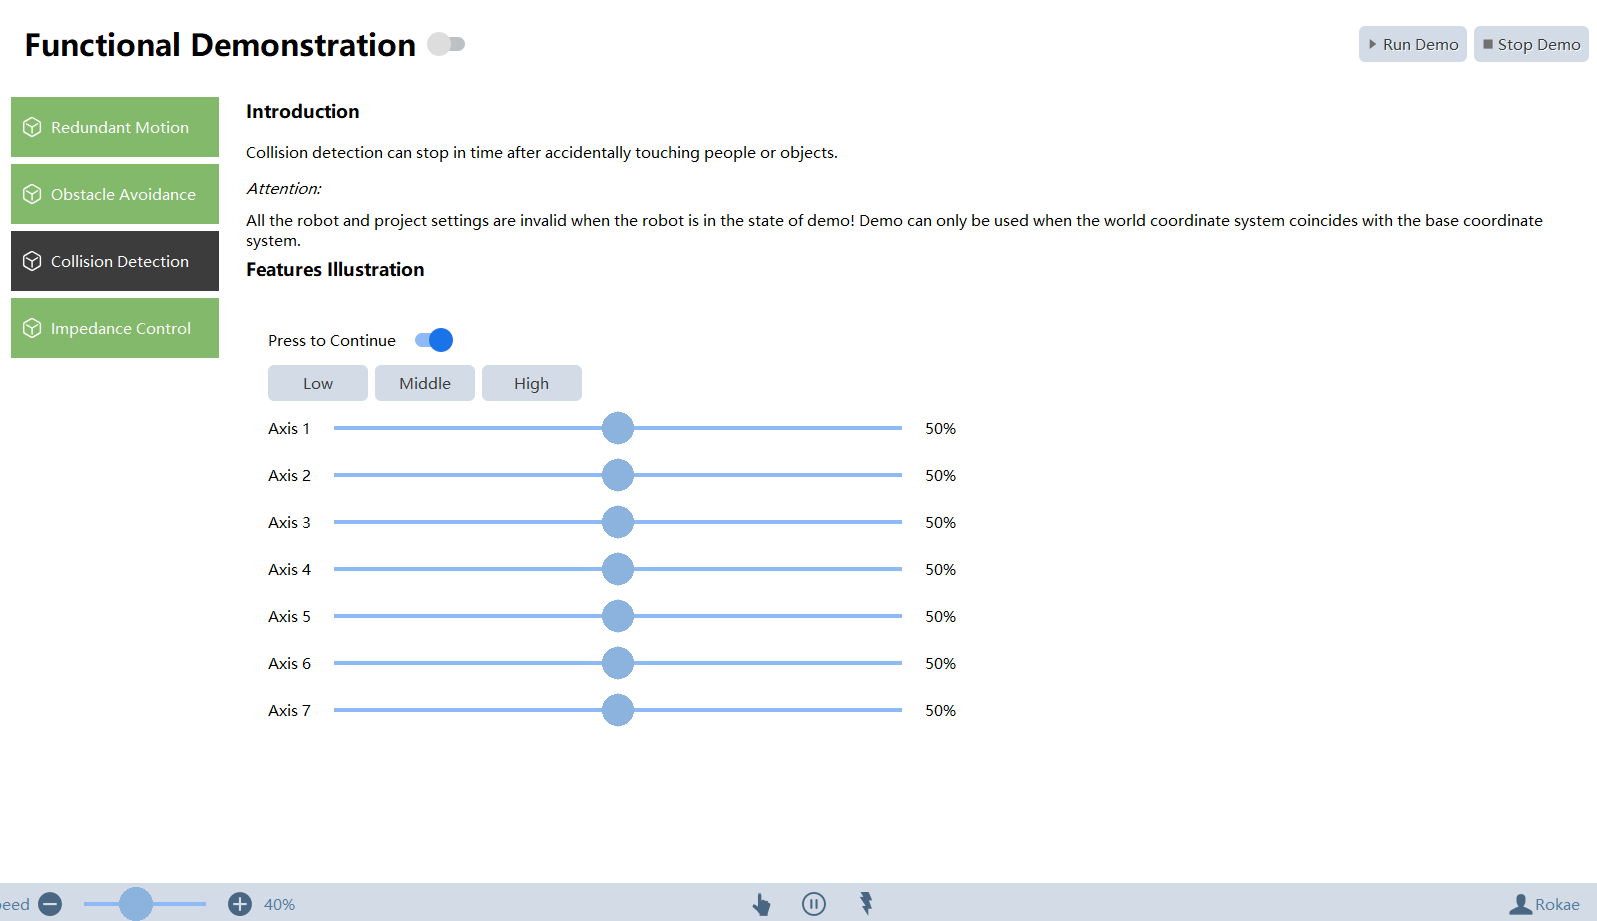
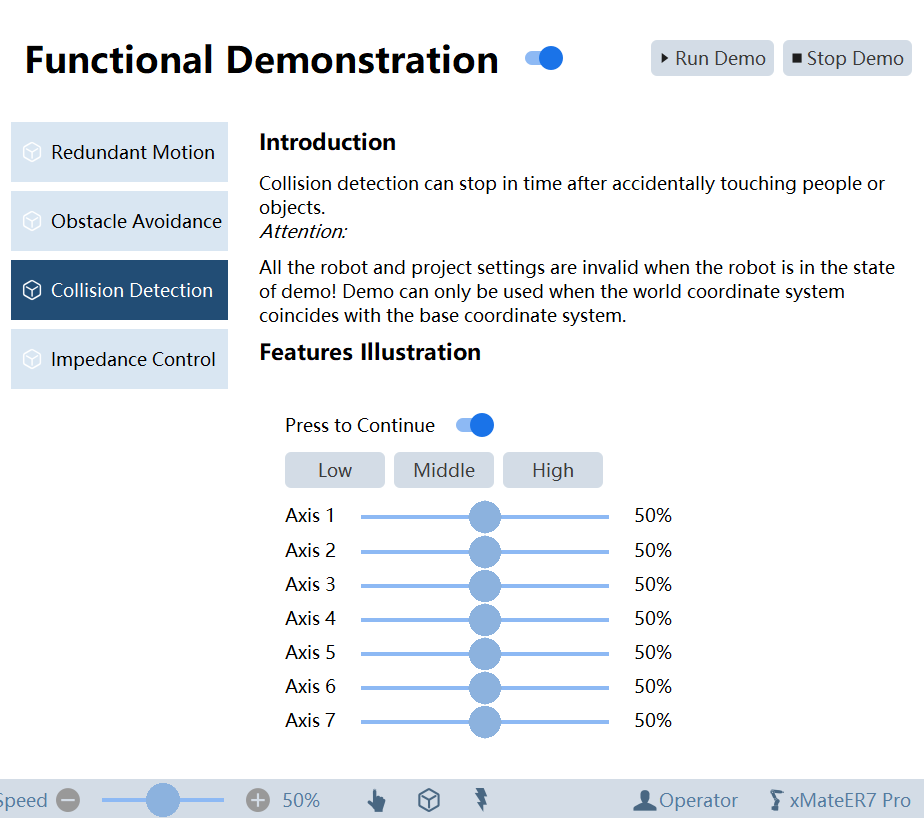
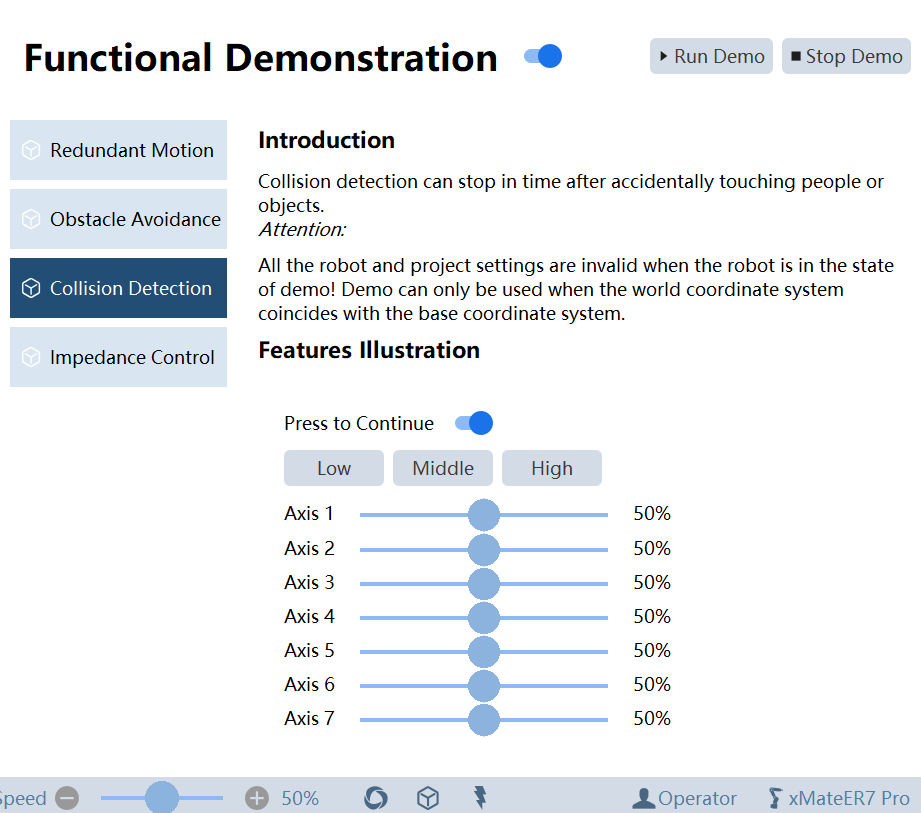
It aims to demonstrate the function of collision detection.
Collision detection sensitivity settings: Support the single-axis setting and the high, medium, or low setting.
When the robot detects a collision, it stops softly. The press to continue is unavailable in version 3.0 collision detection.
When using the demo collision detection function, the collision protection* is temporarily turned off if the collision protection* function is turned on.
| Step | Graphical Representation | Explanation |
|---|---|---|
1. Select Option - Demo - Collision detection and enable Demo to enter the demonstration mode. |
|
|
2. Click the mode switching button |
|
|
3. Click the Power-on button |
|
|
4. Click "Play Demo" in the upper right corner. |
|
|
5. After playing the demo, click "Stop Demo" in the upper right corner. |
|
To adjust the threshold of collision detection sensitivity during a demonstration, click "Stop Demo" first and replay the demo after adjustment. |
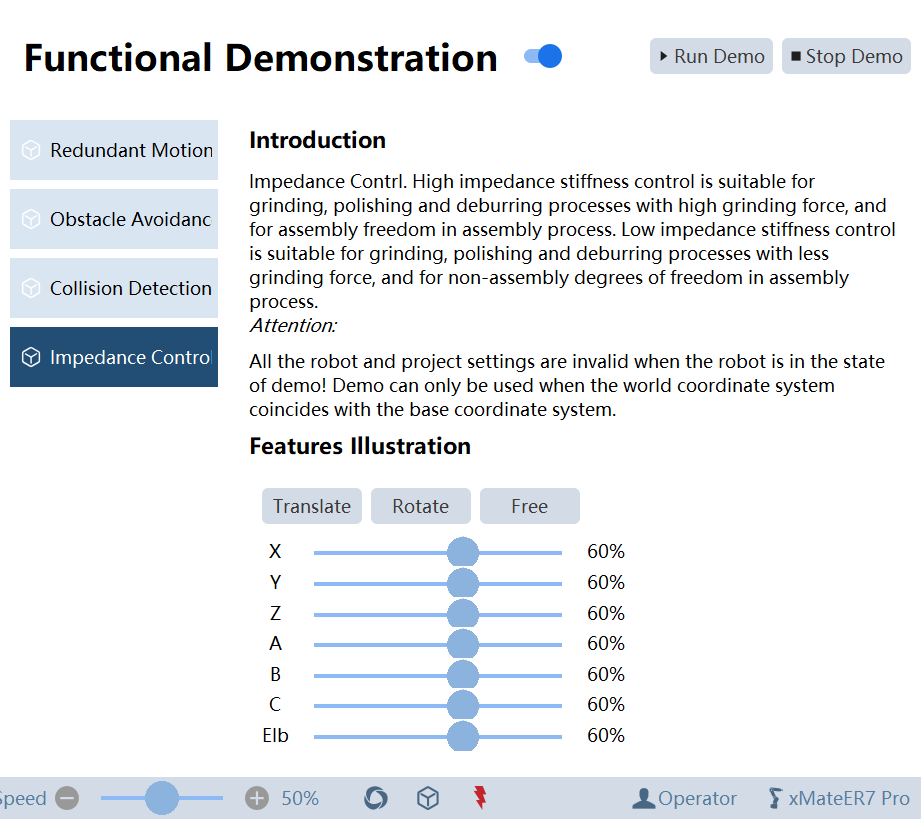
14.7.4 Compliance demo
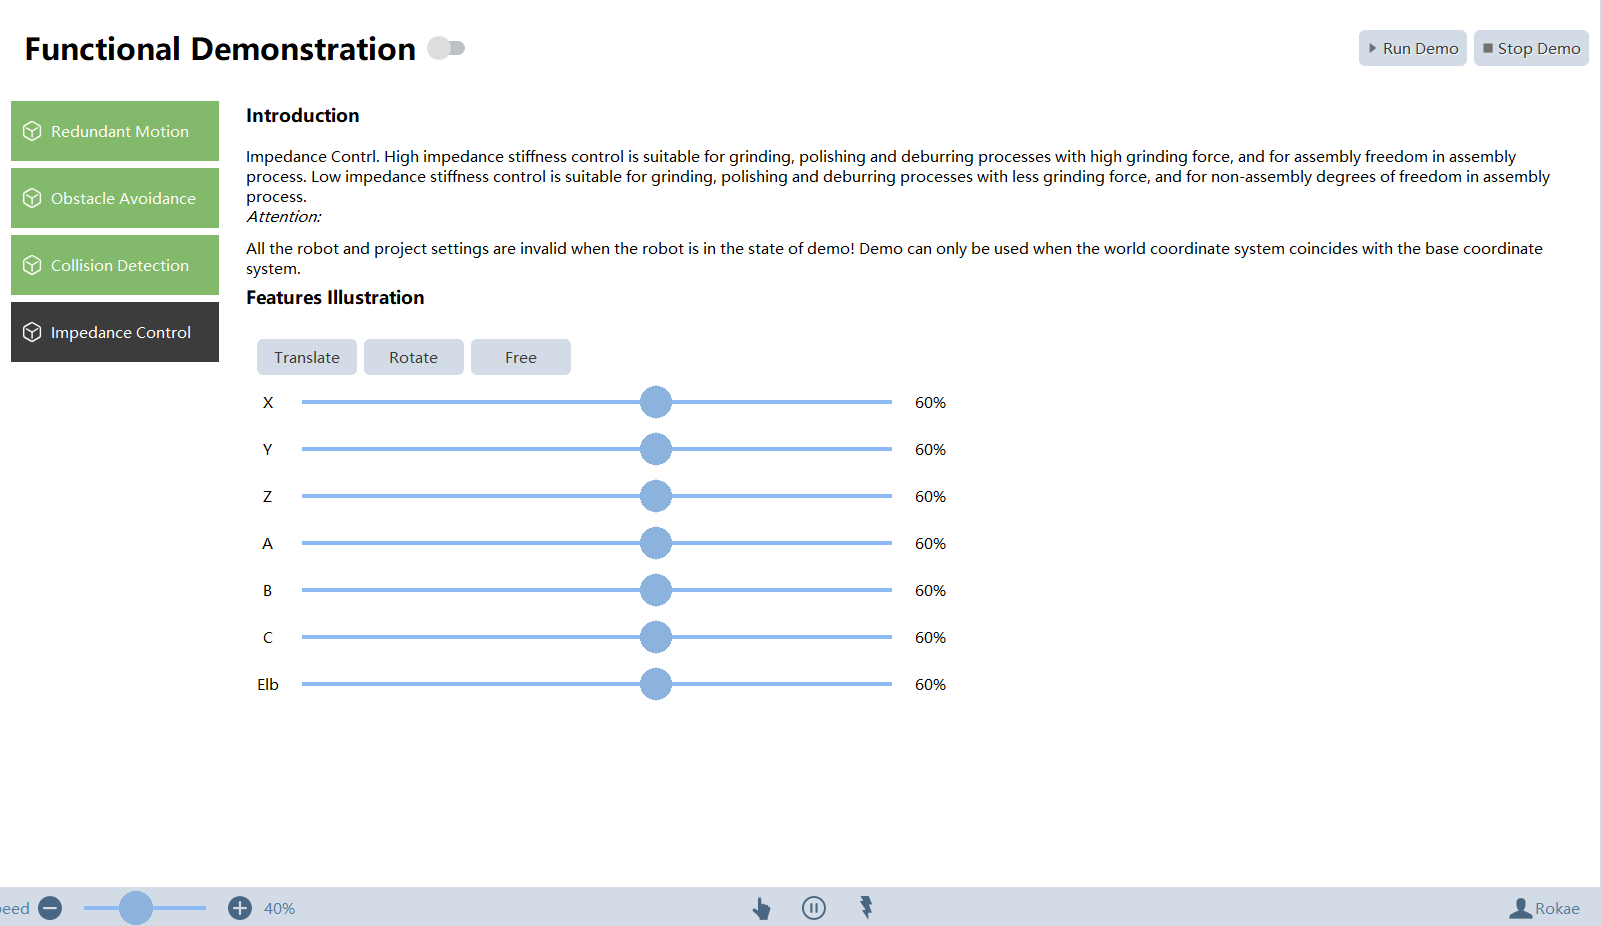
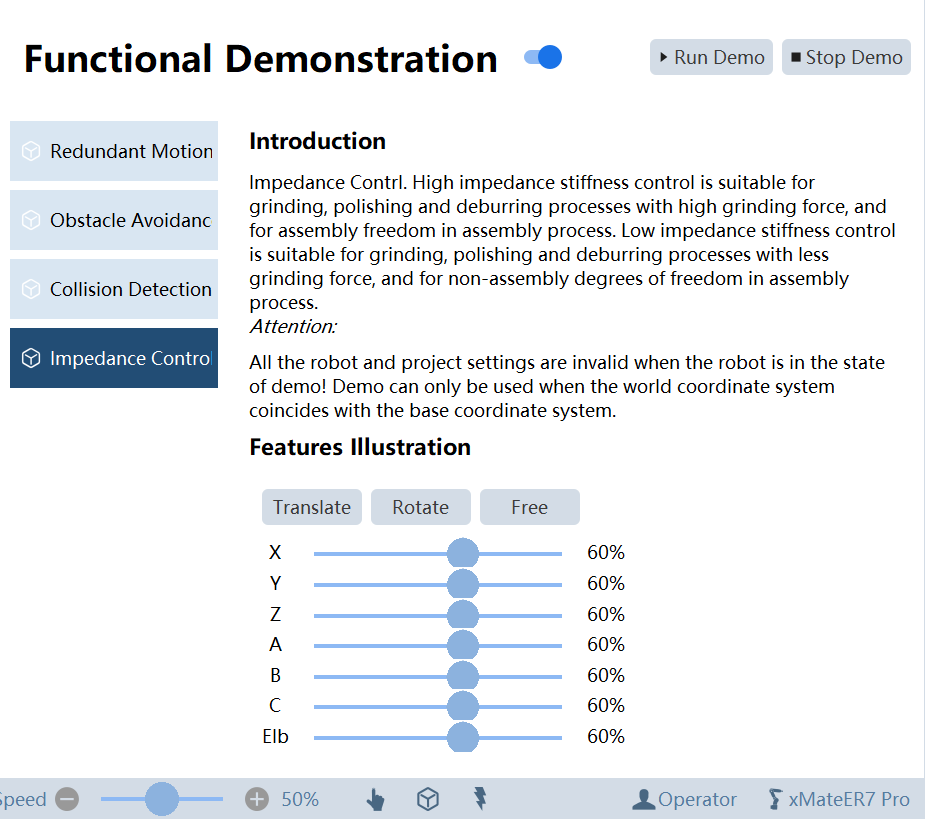
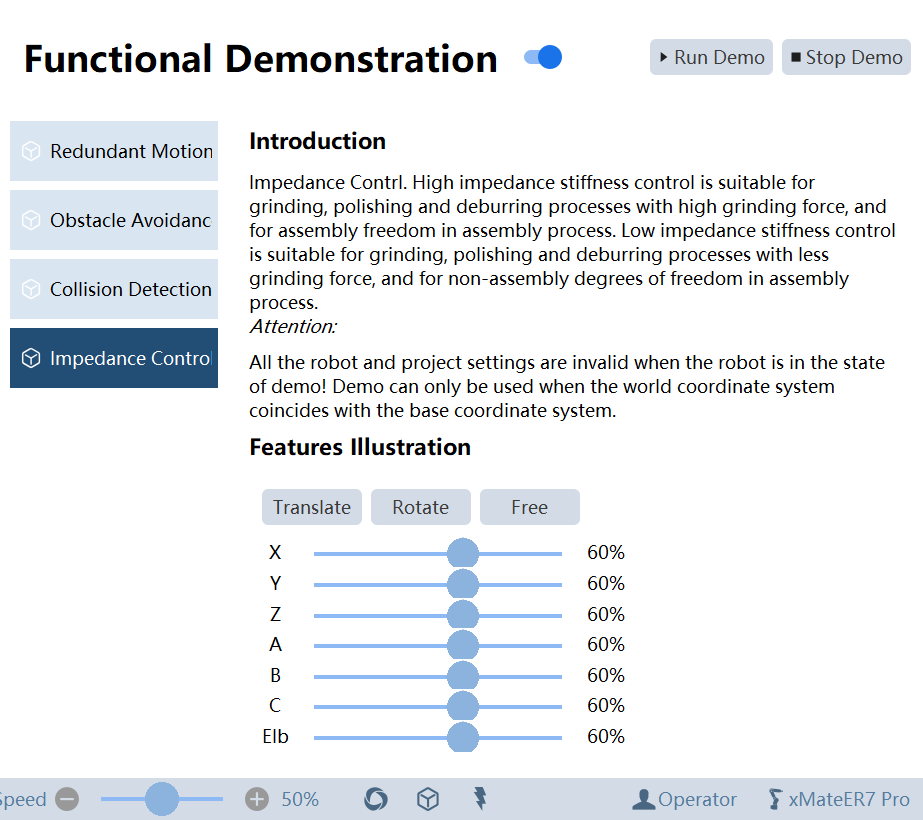
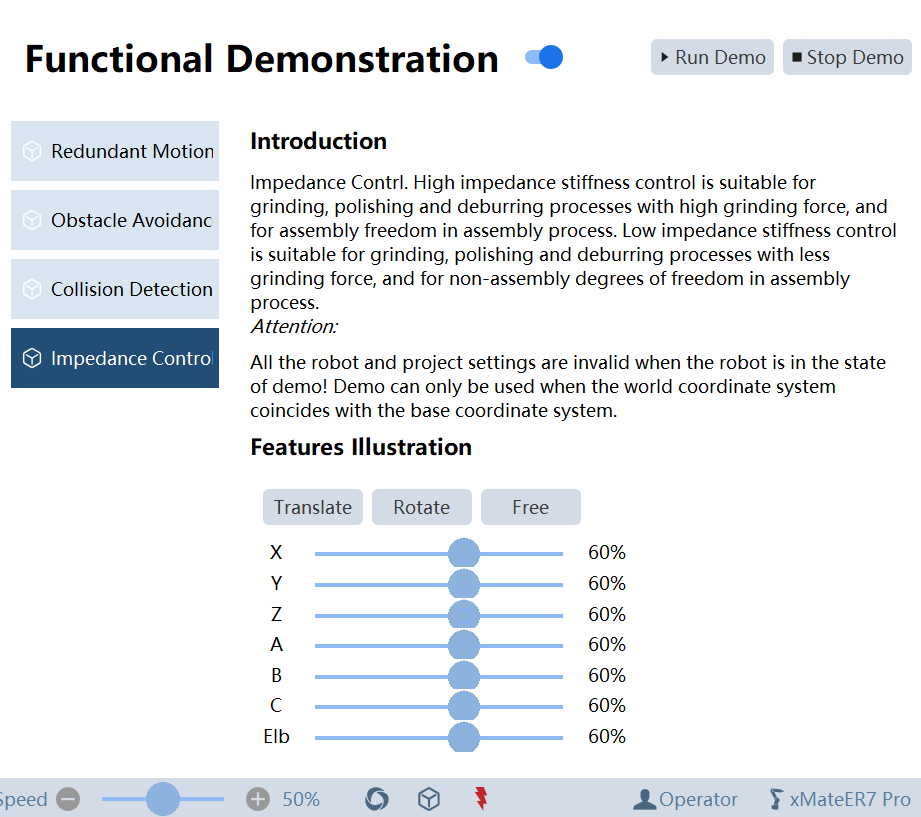
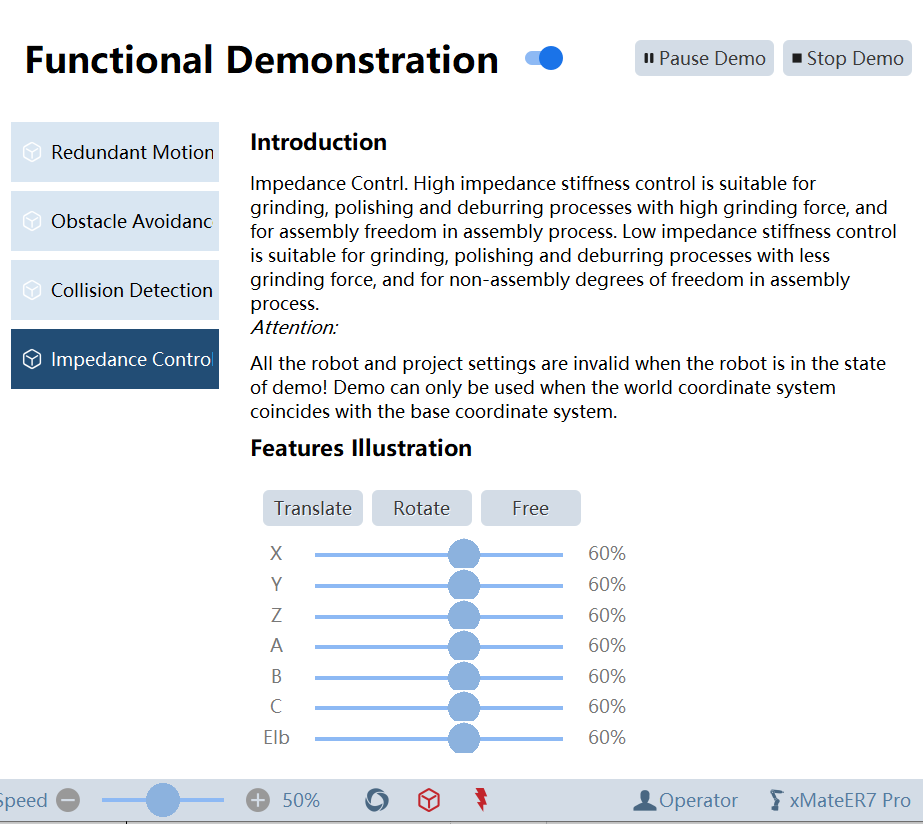
It aims to display the compliance control effect of xMate under different stiffness and spatial conditions.
| Step | Graphical Representation | Explanation |
|---|---|---|
1. Select Option - Demo - Compliance demo and enable Demo to enter the demonstration mode. |
|
|
2. Click the mode switching button |
|
|
3. Click the Power-on button |
|
|
4. Click "Play Demo" in the upper right corner. |
|
|
5. After playing the demo, click "Stop Demo" in the upper right corner. |
|
To adjust the stiffness threshold during the Compliance demo, click "Stop Demo" first and replay the demo after adjustment. |
|
|
